
Download and Install MinerProxy CLI
Install TCMinerProxy CLI from the main Linux MinerProxy script and manage the service with tcminer commands without using the web dashboard.
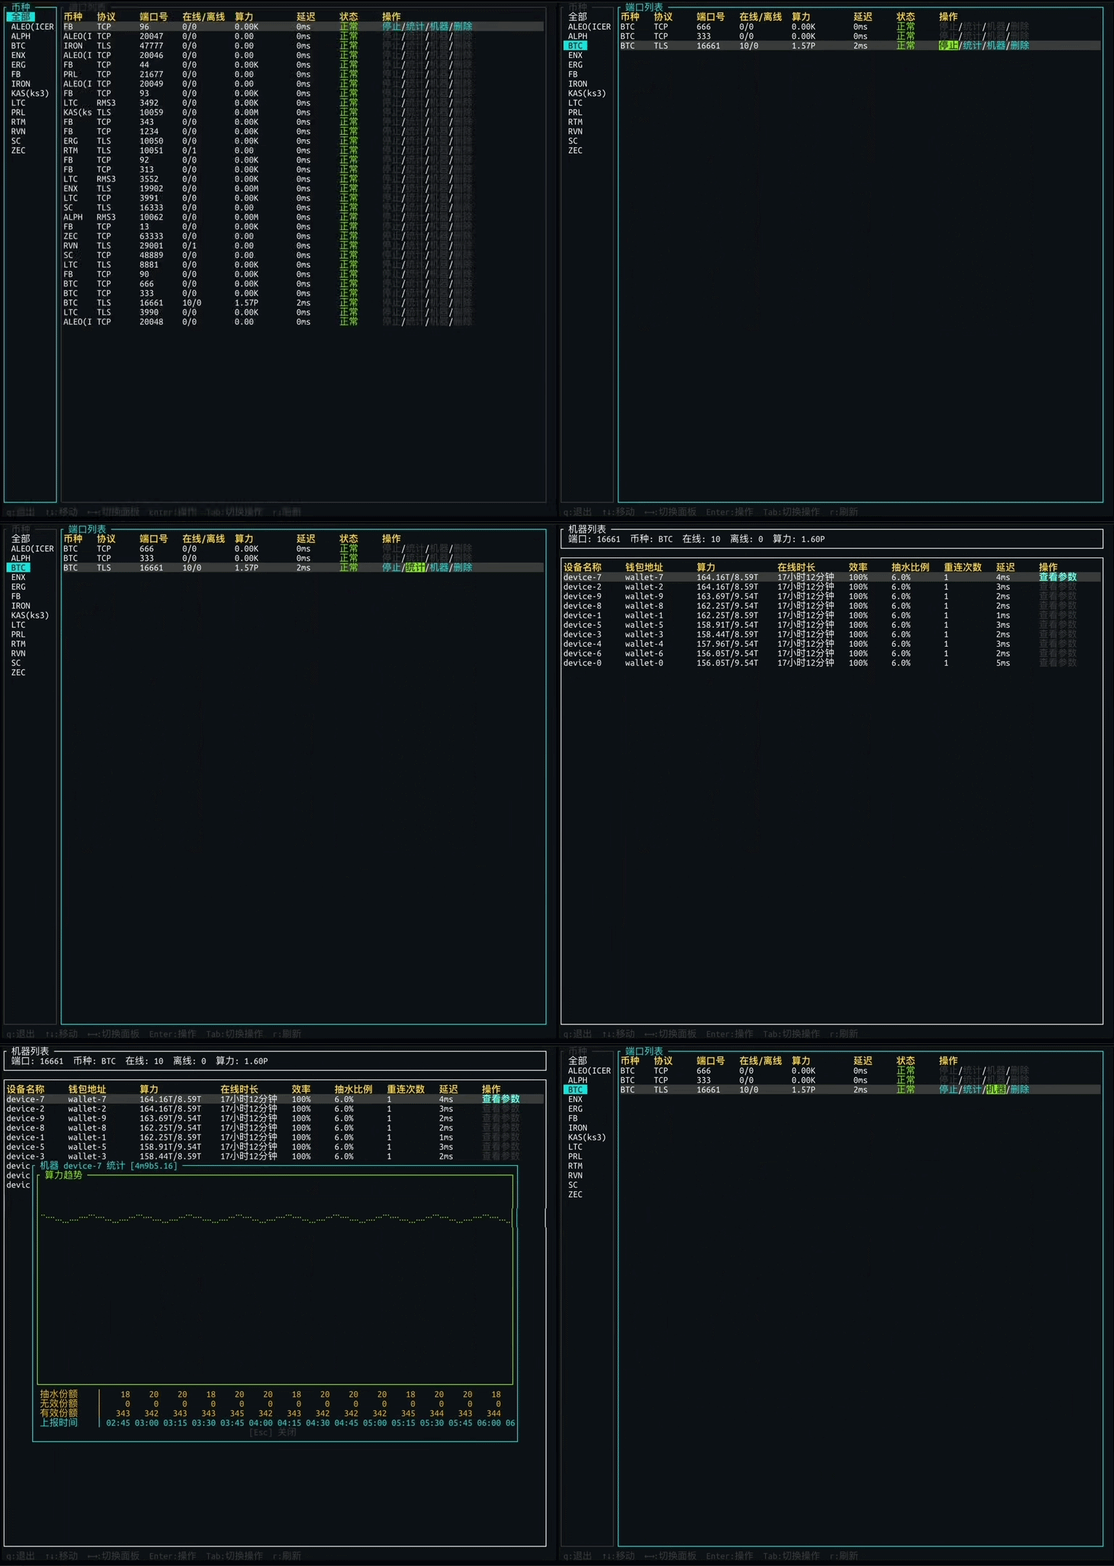
Designed for server terminals, jump hosts, and isolated environments. After installation, run tcminerproxy to open the CLI, or use tcminerproxy start, stop, and restart to control the service.
Enable CLI mode with the same install script
TCMinerProxy CLI is installed through the main install script. Deploy TCMinerProxy first, then choose the command-line tool menu item. The script downloads the CLI, creates the tcminerproxy launcher, and switches the system into CLI mode with web access disabled.
One command opens the install menu
The CLI uses the same main script as TCMinerProxy. Run the command as root on a Linux server, choose the language, then continue from the menu.
bash <(curl -s -L https://github.com/MinerProxyPro/TCMinerProxy/raw/main/install.sh)If TCMinerProxy is not installed yet, choose 1 to install the main program first. Then choose 22 to install the CLI tool. Before installing the CLI, the script asks you to disable web access and then switches the service to CLI mode.
Common commands after installation
The install script downloads TCMinerProxyCLI-0.1.0 and creates the tcminerproxy command. Run it with no arguments to open the CLI, or pass an action to control the main service.
Terminal entry
Run tcminerproxy with no arguments to open the CLI tool, ideal for operators who manage statistics and actions from a server terminal.
Web access disabled
During CLI installation, the script sets ENABLE_WEB_UI to 0, reducing dashboard exposure and moving statistics access to the CLI.
Service control
Use tcminerproxy start, tcminerproxy stop, and tcminerproxy restart to start, stop, or restart TCMinerProxy for basic operations.
Infrastructure for downloads and deployment
TCMinerProxy works with cloud services, network infrastructure, and code hosting platforms to support reliable downloads, deployments, and global access.